If you’re on this website, we’d be correct in assuming that you’re unable to start your day without coffee. And if you like a particularly strong caffeine kick in the morning, you probably can’t do without espresso.
Unless you live right next to a coffee shop or own a fancy, unnecessarily expensive espresso machine, it can seem difficult to produce that strong shot of coffee you so badly need.
Not to worry, because we can easily teach you how to make strong coffee without espresso machine if you own any of the following- a French press, AeroPress, or Mokapot—and as a coffee lover, we’re sure you own at least one of these items. Here are our detailed guides.
Making Espresso with a French Press
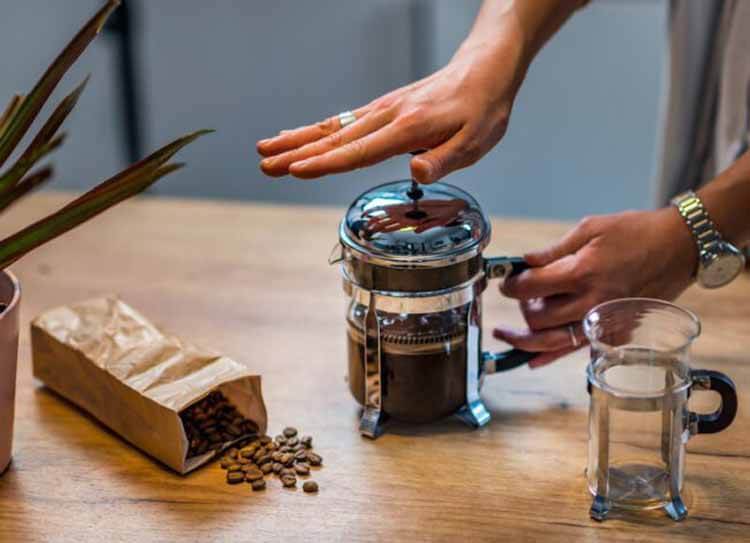
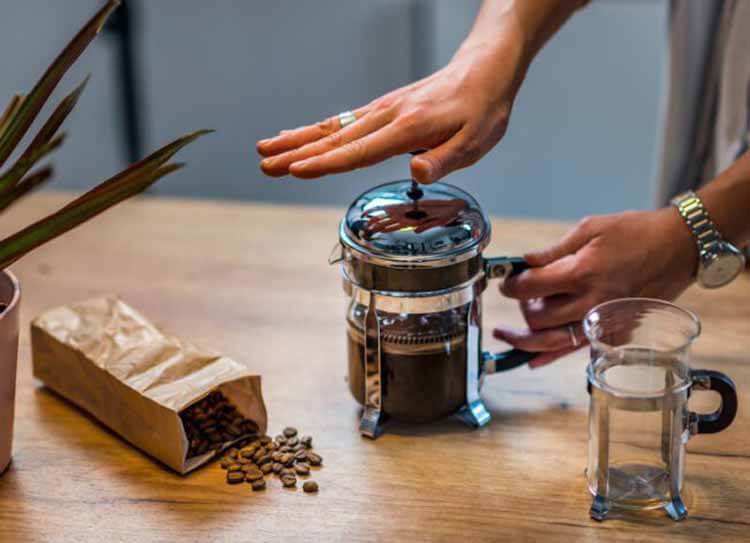
We’re starting with the French press method, as it’s the most commonly owned coffee brewing device (in most parts of the world, anyway). It consists of a lidded glass cylinder that has an integrated plunger with a mesh filter, and a handle.

Coffee made using a French press will be concentrated, although the resulting texture might be oilier than is ideal.
What You’ll Need
- Coffee beans/grounds
- French press
- Burr grinder (if using beans)
- Tablespoon
- Kettle
- Thermometer (optional)
Got everything you need? Let’s get started.
Step 1: Grind Your Coffee Beans
This is where the burr grinder comes into play. Make as fine a grind as you can. Grinding your own coffee beans allows for a fresher-tasting coffee. You will need about 2 tablespoons for each cup of coffee.
If you’re using ground coffee instead, remember that the higher its quality, the better. Dark roast beans are also preferred.
Step 2: Add Coffee Grounds to Your French Press
While doing this, you might notice that the coffee grounds you’re adding are double the amount of regular French press coffee. This is not irregular, since you’re making coffee resembling espresso.
Step 3: Heat the Water
Fill up your kettle with as many cups of water as the coffee that you’ll be making. Let the water boil. After the water has been adequately heated, put it aside for 30 seconds before you use it to begin the brew.
Note: Some purists prefer to heat their water only up to just below 200 degrees, but as this takes time and requires the use of a thermometer, you might want to skip it if you’re low on time.
Step 4: Fill Your French Press with Water
But only a little bit to allow the coffee to begin releasing its oils. This process is called blooming. Allow 30 seconds for the blooming before pouring the rest of the water into your French press.
Step 5: Begin Brewing
Place the lid of the French press onto its cylinder. Make sure that the plunger is pulled all the way up. Now, wait at least 4 minutes for the coffee to steep. You can extend the steeping time to 5-6 minutes if you desire a more robust brew.
Step 6: Work the Plunger
Evenly, press the French press’s plunger down. When it’s halfway down the cylinder, retreat it back up to the top, then repeat the process. This time, your plunger should be at the very bottom of the press.
Step 7: Pour the Coffee
And you’re done! Now simply pour the coffee out into your cup and enjoy.
Using an AeroPress to Make Espresso
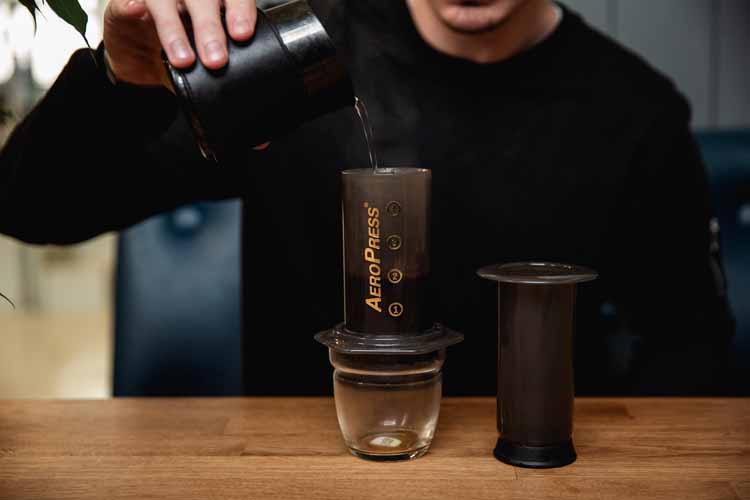
If you own an AeroPress, you’re in luck, because it’s probably the easiest method of making espresso without a machine. Although it works similar to a French press, the AeroPress produces only one serving of coffee; and this is dispensed directly into a cup.

Here’s how you can make a delicious espresso-like drink using your AeroPress.
What You’ll Need
- AeroPress
- Two AeroPress filters
- Dark roast beans or grounds
- Burr grinder (for beans)
- Kettle
- Thermometer
Step 1: Get your AeroPress Ready
Rinse the filter of your AeroPress. Then place the filter on the cap. Next, position the plunger of your AeroPress so that it’s sitting halfway through the chamber.
Step 2: Heat the Water
Since your AeroPress is able to produce only one serving of coffee at a time, you should heat 2 ounces of water. As before, it’s recommended to heat it to just under 200 degrees (which you can check with athermometer). But boiling it is also fine.
Step 3: Prepare Your Coffee Grounds
Unless you’re using ground coffee, now it’s time to grind the beans. Using your burr grinder, grind one and a half tablespoons of coffee. As before, grind it till the consistency is very fine.
Step 4: Begin the Brewing Process
Fill your AeroPress chamber with your coffee grounds. Then, after checking the temperature of water to ensure it’s where it needs to be, pour it into the AeroPress in a slow movement. Once this is done, swirl the AeroPress lightly. This will allow the grounds and the water to mix properly.
Step 5: Pour out the Coffee
Once you’re done swirling, attach the cap of the filter. Now turn the AeroPress over so that it’s directly positioned over your cup. Quickly, plunge the coffee through the AeroPress filter.
Step 6: Enjoy!
That’s it. You’ve successfully created strong, espresso-like coffee using your AeroPress. Enjoy the fruits of your labor.
Using Moka Pot to Make Strong Coffee
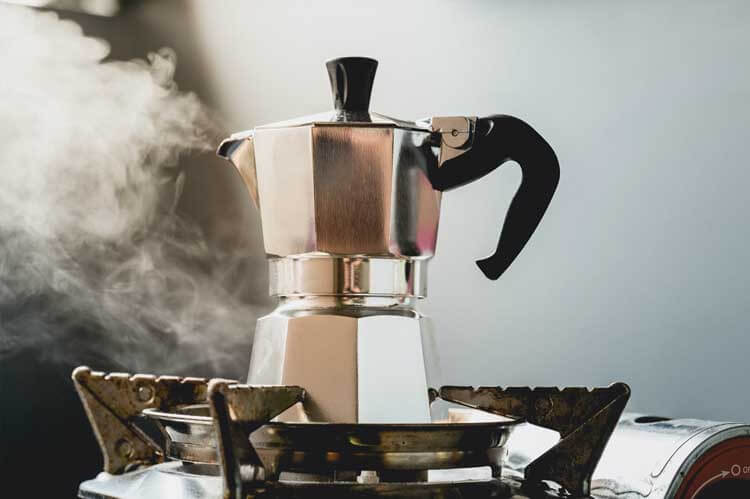
If you own a Mokapot, you’re in luck, because using this type of coffee maker is the closest you’ll get to having espresso without actually using an espresso machine. They’re available in a wide price range, depending on quality and capacity.

Moka pots can be electric or stovetop models, but for the purpose of this article, we’ll be discussing how to make strong coffee using a stovetop Mokapot.
What You’ll Need
- Moka pot
- Stovetop
- Dark roast coffee beans/grounds
- Burr grinder (for beans)
Step 1: Prepare Your Coffee Grounds
This should be about 2 tablespoons (approximately 21.5 grams). Again, grind it as finely as possible if you’re using beans instead of grounds.
Step 2: Get Your MokaPot Ready
Pour cold water into the lower chamber of the Mokapot. The water level should be close to the chamber’s valve, but below it. Now position the funnel and add your coffee grounds. If there are residual grounds on the rim of the funnel, wipe them away. Now, cautiously, attach the Moka pot’s upper and lower chambers.
Step 3: Begin Heating the MokaPot
Turn your stove on to a low flame and place the Moka pot on it. Make sure that the flames from the stove don’t touch the sides of the Moka pot.
Step 4: Listen
Wait as the water boils inside the Moka pot. When you start hearing a gurgling sound, that’s the sign that water is making its way into the upper chamber through the funnel.
Step 5: Check the Funnel
Using a spoon or a similar utensil, gently lift the lid of the Moka pot to check the funnel for foam. Be careful, as errant steam might burn you! If there is foam present, that means your coffee is nearly done and the upper chamber is almost full.
Step 6: Take the MokaPot off the Stove
Do this when you see that foam is coming out of the Moka pot’s funnel spout. Otherwise, you might end up with over-brewed coffee.
Step 7: Pour the Coffee out…
…and enjoy! If this is your first try, the coffee might lack the exact texture and consistency you seek in espresso.But with practice, you’ll get the hang of when to remove the pot from the stove.
Related Article: How to Make Espresso Without An Espresso Machine
Final Words
We hope that our guide on how to make strong coffee without espresso machine has proved that espresso is not only for those with heavy wallets.
Remember, whichever method you end up using, the most important thing is to use high-quality, finely ground dark roast coffee.
May your coffee always taste delicious. Happy drinking!

